Whilst procrastinating on all my homework, which had accumulated over the winter holidays, I decided to experiment a little bit with food. On Pinterest, I found this recipe for “Pizza Zucchinis” which is super simple and was just begging to be attempted. Although, I did not have any (reasonably sized) zucchinis on hand, nor did I have real cheese. Thus, the recipe I am presenting to you today is a different take; I bring you vegan mushroom pizza bites!
This recipe was highly improvised, and it was also my first time preparing the recipe. I actually prefer first time tutorials, myself, so that I can know what to actually expect, an aspect that is lost with perfected tutorials. So, I’m going to take you through a step-by-step process of how I prepared everything, including the exact ingredients I used. I will also provide an afterword, which will contain comments and tips that I thought up after completing the recipe. Let’s get started!
Ingredients:
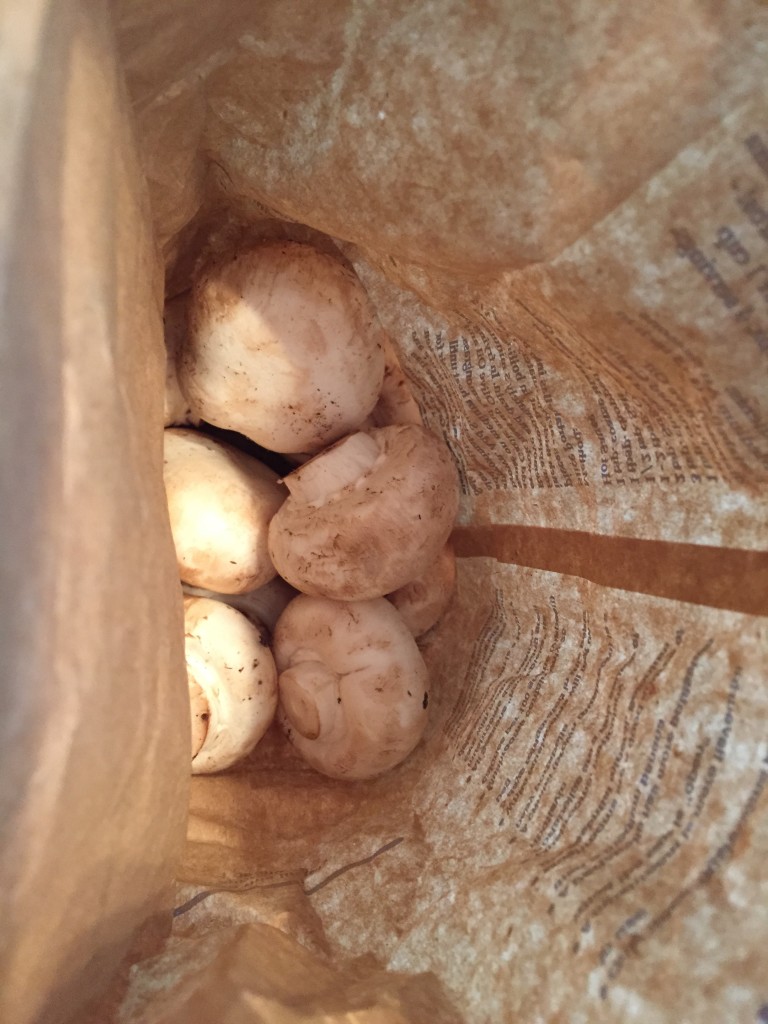
{5 White Mushrooms}
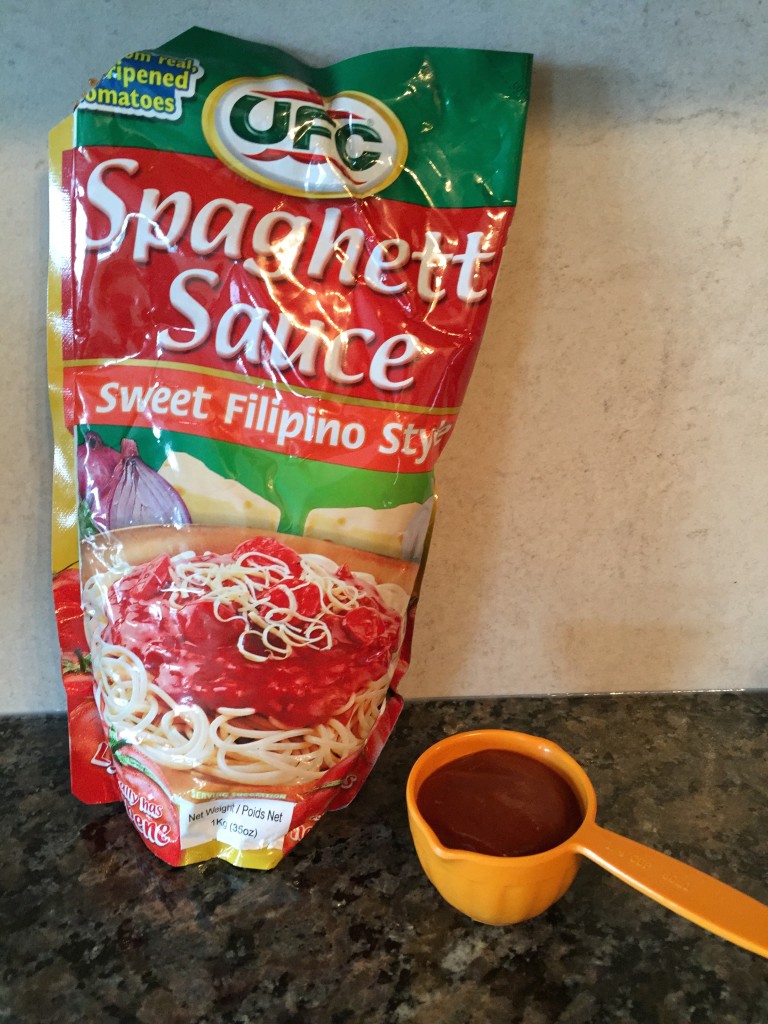
{1/4 Cup Tomato Sauce}
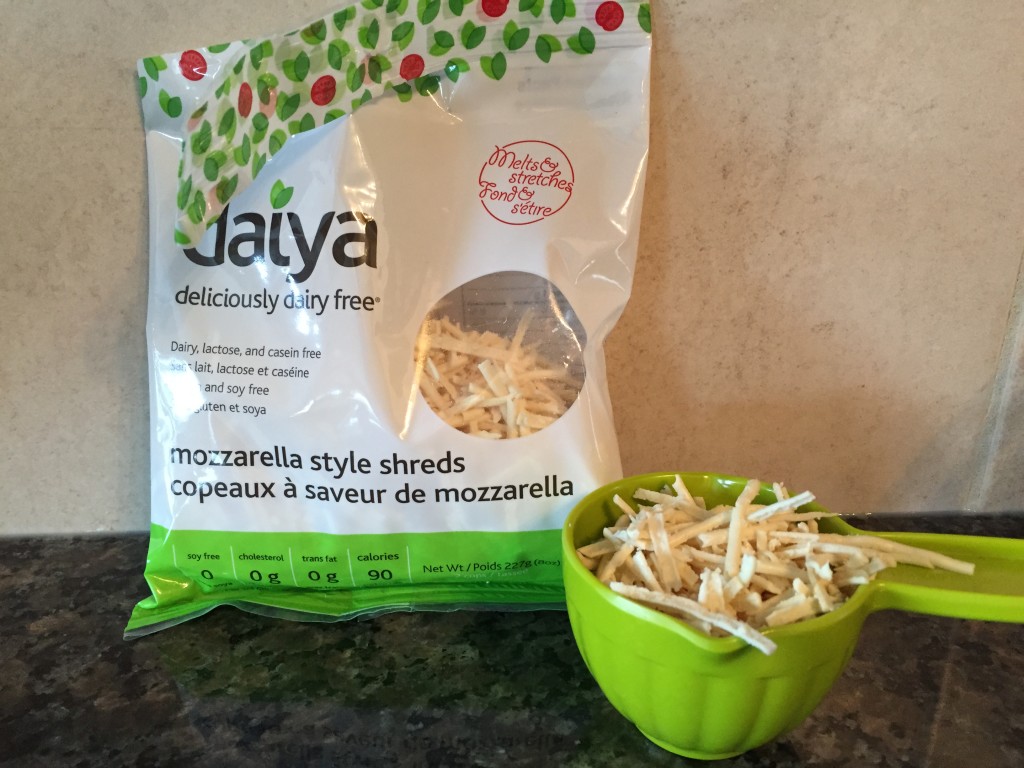
{1/2 Cup Shredded Cheese}
Now, you’re ready to start!
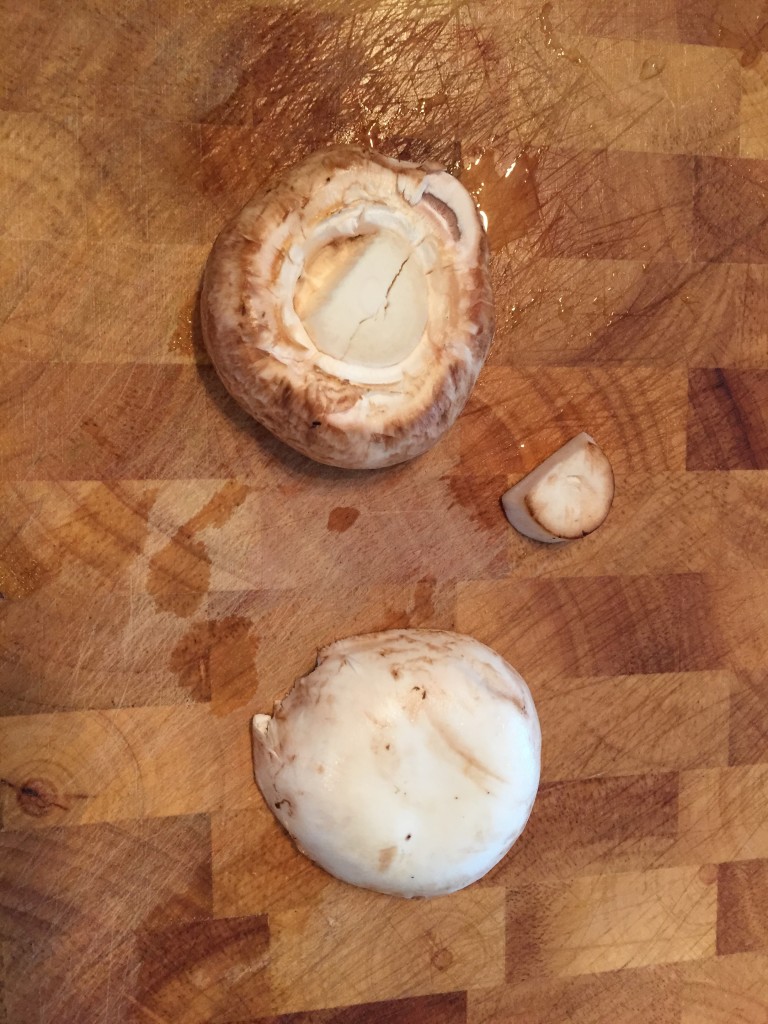
Step 1: Preheat your over to 350 degrees. Rinse your mushrooms with water to get them nice and clean. Then, using a paring knife, gouge out their little butts. Depending on the size of the mushroom, you will be able to slice it into 2-3 pieces.
Afterword: Since zucchinis (what the recipe originally called for) are flat once you slice them, you don’t have to worry about lopsidedness. With the mushrooms, I found that the cheese started sliding off halfway through baking. Although you will be wasting precious mushroom by doing this, I suggest sculpting the two sides a little bit to make sure that the mushroom slice is flat as a coin.
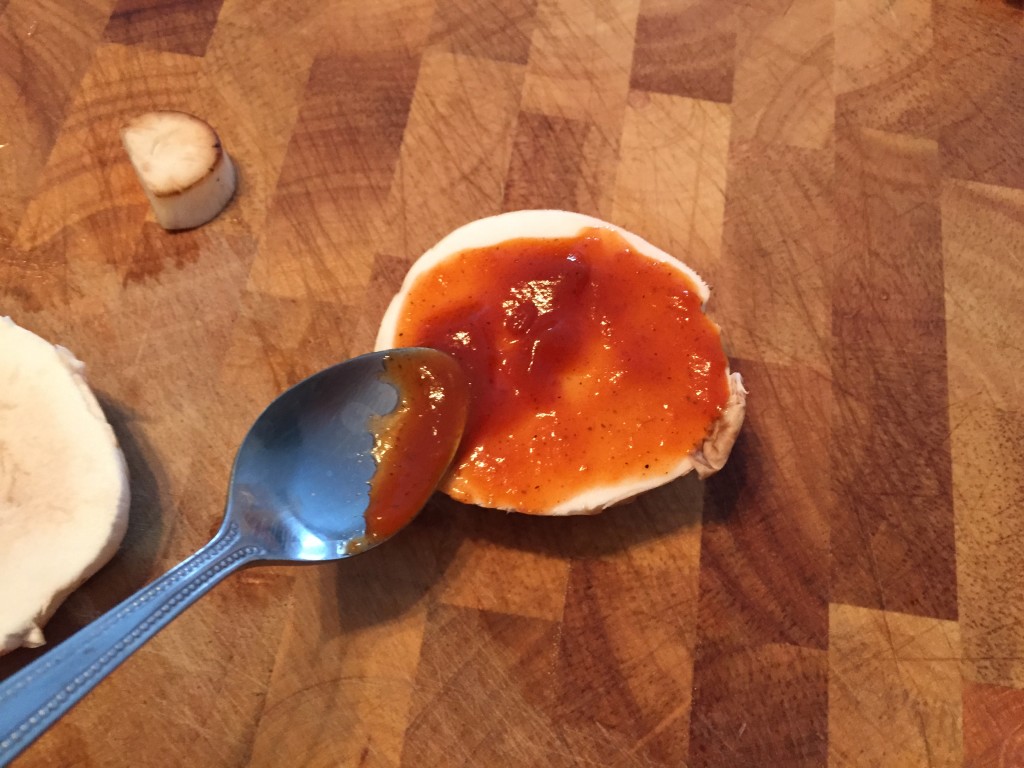
Step 2: Using a small spoon, scoop out some sauce and spread it on your mushroom slices.
Afterword: I used way too much sauce for each mushroom (which is reflected in this picture) and it started leaking off during baking… I would suggest spreading the sauce on super thin, just a tiny drop.
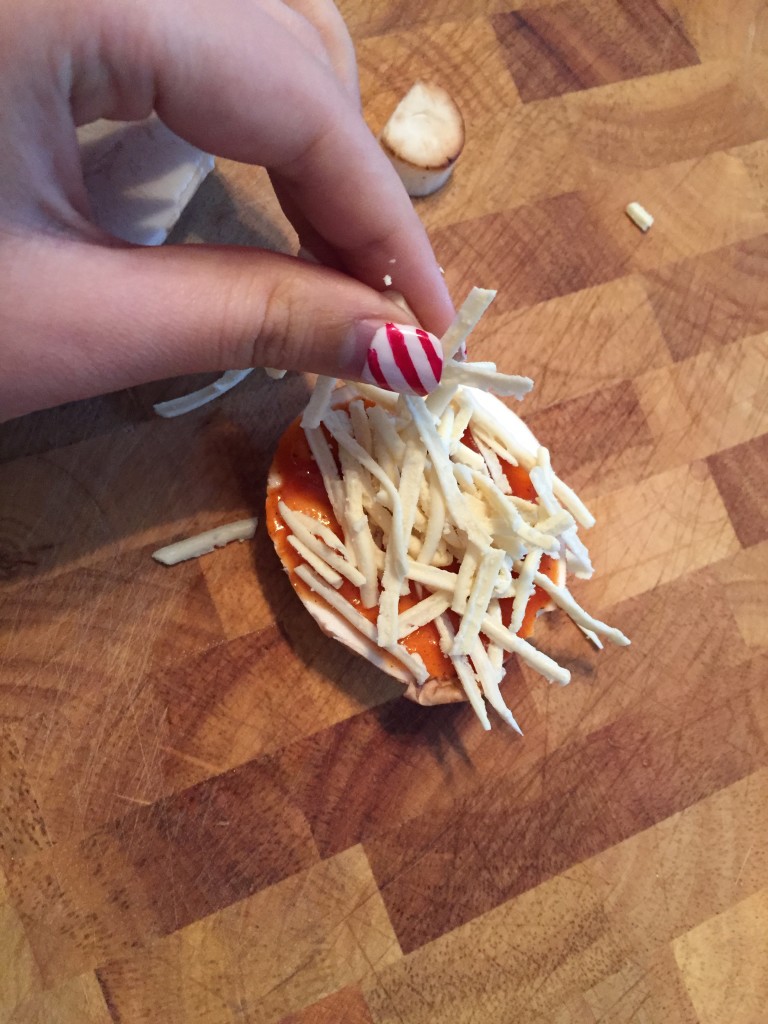
Step 3: Sprinkle your shredded cheese on top of the mushrooms.
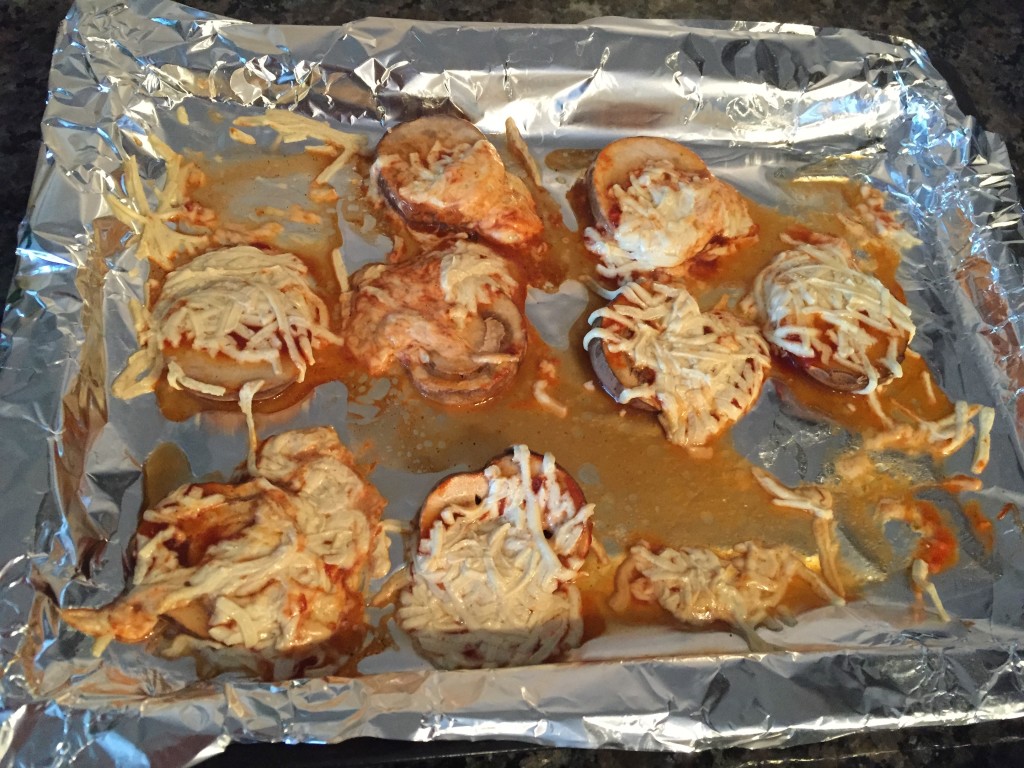
Afterword: Again, I also put a bit too much cheese on the mushrooms. I ended up using 3/4 cups of cheese instead of 1/2 as the recipe originally called for, and I definitely regretted it. Also, I don’t know if it was simply the nature of the cheese I used (maybe vegan cheese just isn’t suited for baking), or the brand, but something went totally wrong. If you are a vegan attempting this recipe, don’t use the same brand that I did. Maybe even try cheese slices or a spread? I don’t know… You’ll see the carnage in a later photo.
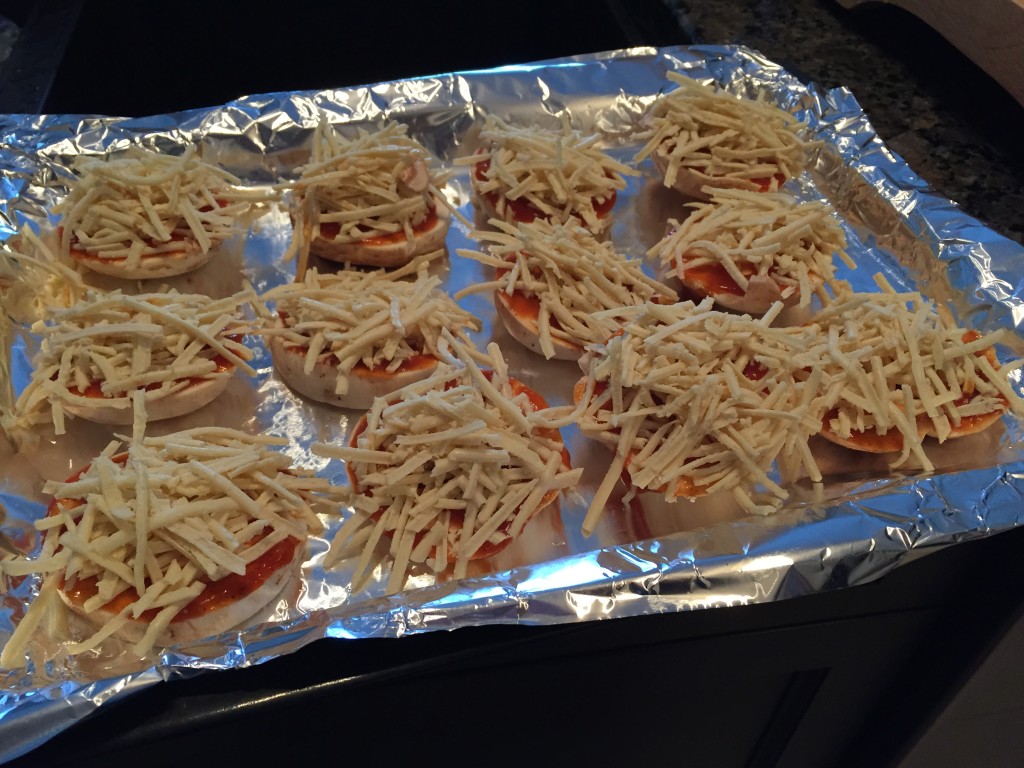
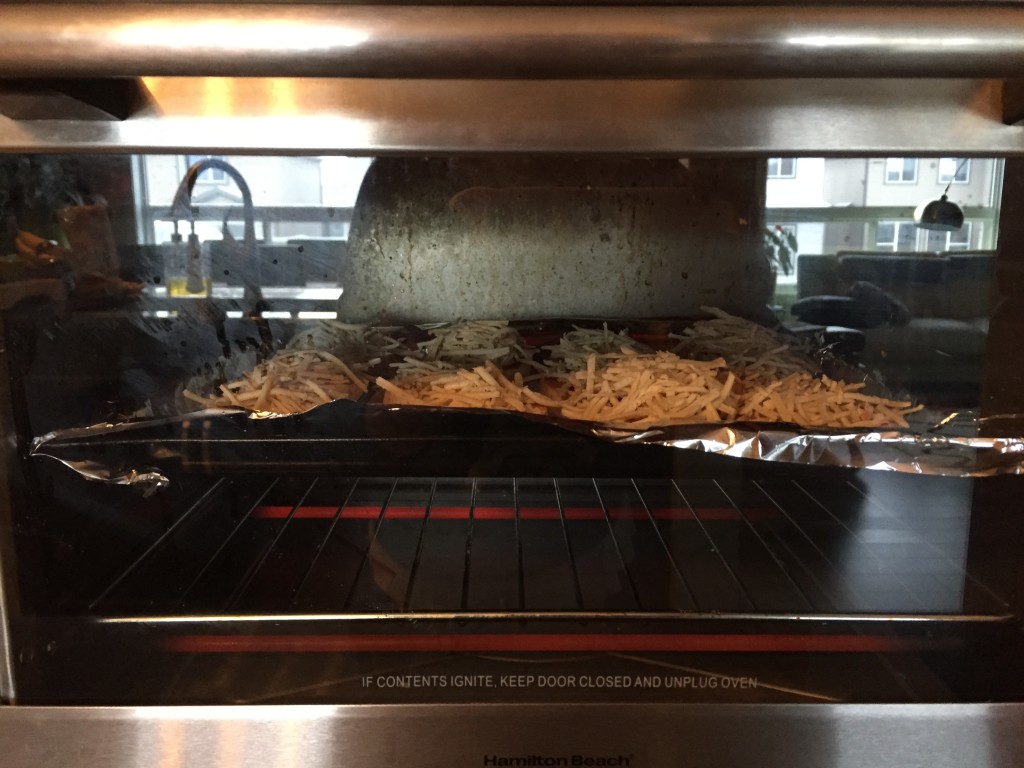
Step 4: Arrange all of your mushrooms onto a tray lined with tin foil and pop them in the middle rack of your oven. Bake until the cheese is golden-brown.
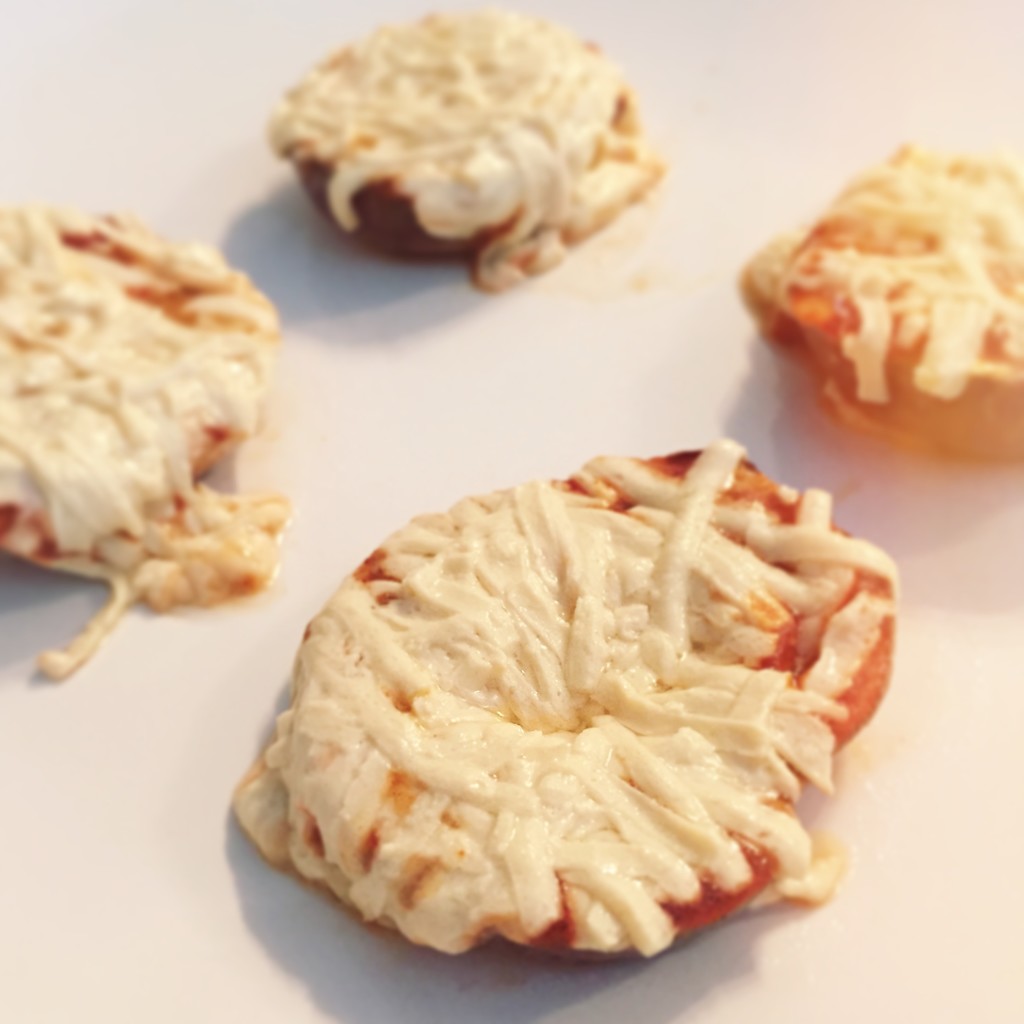
Afterword: I used a toaster oven, but a conventional oven would work as well. In fact, I’m wondering if a conventional oven would have worked better. They looked so beautiful and promising in these two photos, but the end result was utter catastrophe. The cheese never did turn golden-brown for me, and I think the total baking time was (approximately) 15 minutes. It took forever, which was a big sign that something went wrong. (In addition to all the other errors mentioned.)
They look pretty fantastic, right?!? Well, here are the deformed ones…
I’m no master chef, so I don’t really know what went wrong with this recipe, but the end result still tasted great! My cousin took the liberty of devouring four or five of these, so the presentation didn’t really matter in the end (is what I’m telling myself). With a few adjustments, I’m sure that this recipe will work out just fine. I will be attempting this again and maybe I will post an update if/when I do!
I hope that you were inspired to go try this for yourselves. It is a super simple recipe and, if completed correctly, will become your new favourite to-go snack.
FTC: This is not a sponsored post, and all opinions are completely genuine. ♥

