
Notion is an online organization tool that’s supposed to make your life easier, by helping you manage your time, your schoolwork, and anything else you possibly need to organize. As we get older and our workload increases, managing and organizing everything sometimes becomes our last priority. So maybe you’ve heard of Notion when you were trying to navigate through the millions of tasks you have. At least, that’s how I heard of it. With thoughts of extracurriculars and schoolwork, tests and family gatherings, and everything else that could possibly stress me out on my mind, I felt myself enter the panic mode.
I like to think of our brains as a libraries, with books for memories, tasks and everything else in there. And sometimes, when you’re stressed, you might feel like the once perfectly arranged library of your brain is suddenly all chaos, the books falling and bookshelves crumbling. And that’s when I learned about Notion. It was the perfect tool to organize everything and keep the library from falling. I could have all my tasks and priorities in there, so I knew when to work on what. Everything would be in one place, and I could get it all done on time. And on top of that, it can be incredibly aesthetic and visually pleasing!
But as soon as I clicked the sign up button, I realized that this was going to be much more complicated that I expected. Notion is helpful, but at first it all seems very complex and intimidating. So today I’ve decided to finally give it a try, and I thought I’d share this information with you too so you could learn how to easily navigate notion without all of the confusion.
So let’s get started!
I’m going to show you how to make a Notion dashboard first. This is where everything you need will be, you can have a calendar, to-do lists, and even Spotify connected.
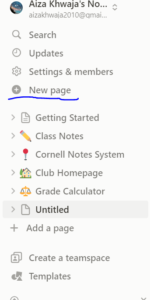
- Start by clicking the New Page option on the left side of your Notion
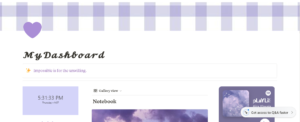
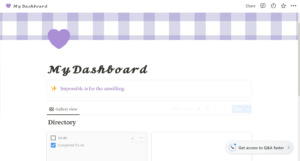
You will probably see options to add and icon and a cover, you can find anything from the web and upload it if you like. If you want to make it aesthetic, pick a color scheme and stick to it. I decided to make mine lavender for the most part.
This is what mine looks like so far.

I used a random aesthetic font copy and paste website online for the font.
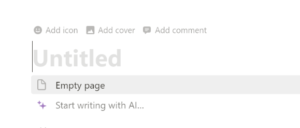
2. Then, if you see a lot of options such as import, templates, or table on your page, go ahead and click empty page. I added a quote as the first block on the page, you can add a note too, or if you don’t want one skip to the next step! You just type in a slash and then type in callout. A callout is a grey box with a short note. You can change colors and icons by clicking the six dots to the left of each block.
3. Next, I wanted a place that had all of my other to-do lists, notes, and goal trackers in it. So I typed in slash and typed in gallery view. If you see a pop up that says select data source, click add new database. You can title this whatever you want and edit each of pages too.
3. If you want to add images, you can just copy and paste them from online.
4. If you want to add a to-do list, just type slash and then type to-do list.
5. To add a Spotify playlist to your notion, just go on to Spotify and select the playlist you want to embed. Then, click on the three dots and click share. Click embed playlist and copy the link.
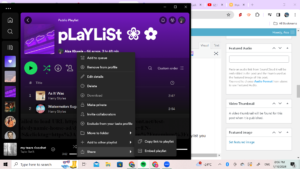
Next, go onto Notion and create a new block (type slash). Type in embed. You will see a pop up where you can paste a link, just paste the Spotify link over there! You can embed almost anything like this onto your Notion page. You can move all of the different blocks around by clicking the six dots on the left of the block, and even put them into columns.
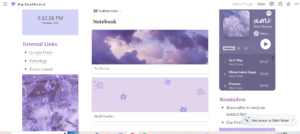
And that is how you make a simple, yet aesthetic Notion spread! This blog post just shows you the basics, but the more you use Notion, the better you will get at it. I hope this helps!
Here’s what my Notion dashboard looks like after I finished: