 I go crazy about any holiday. Or season. Or anything that entails a specific mood or something of that sort. So, when you combine a) my favourite season, with b) my favourite holiday, and c) my birthday, you get a very festive me.
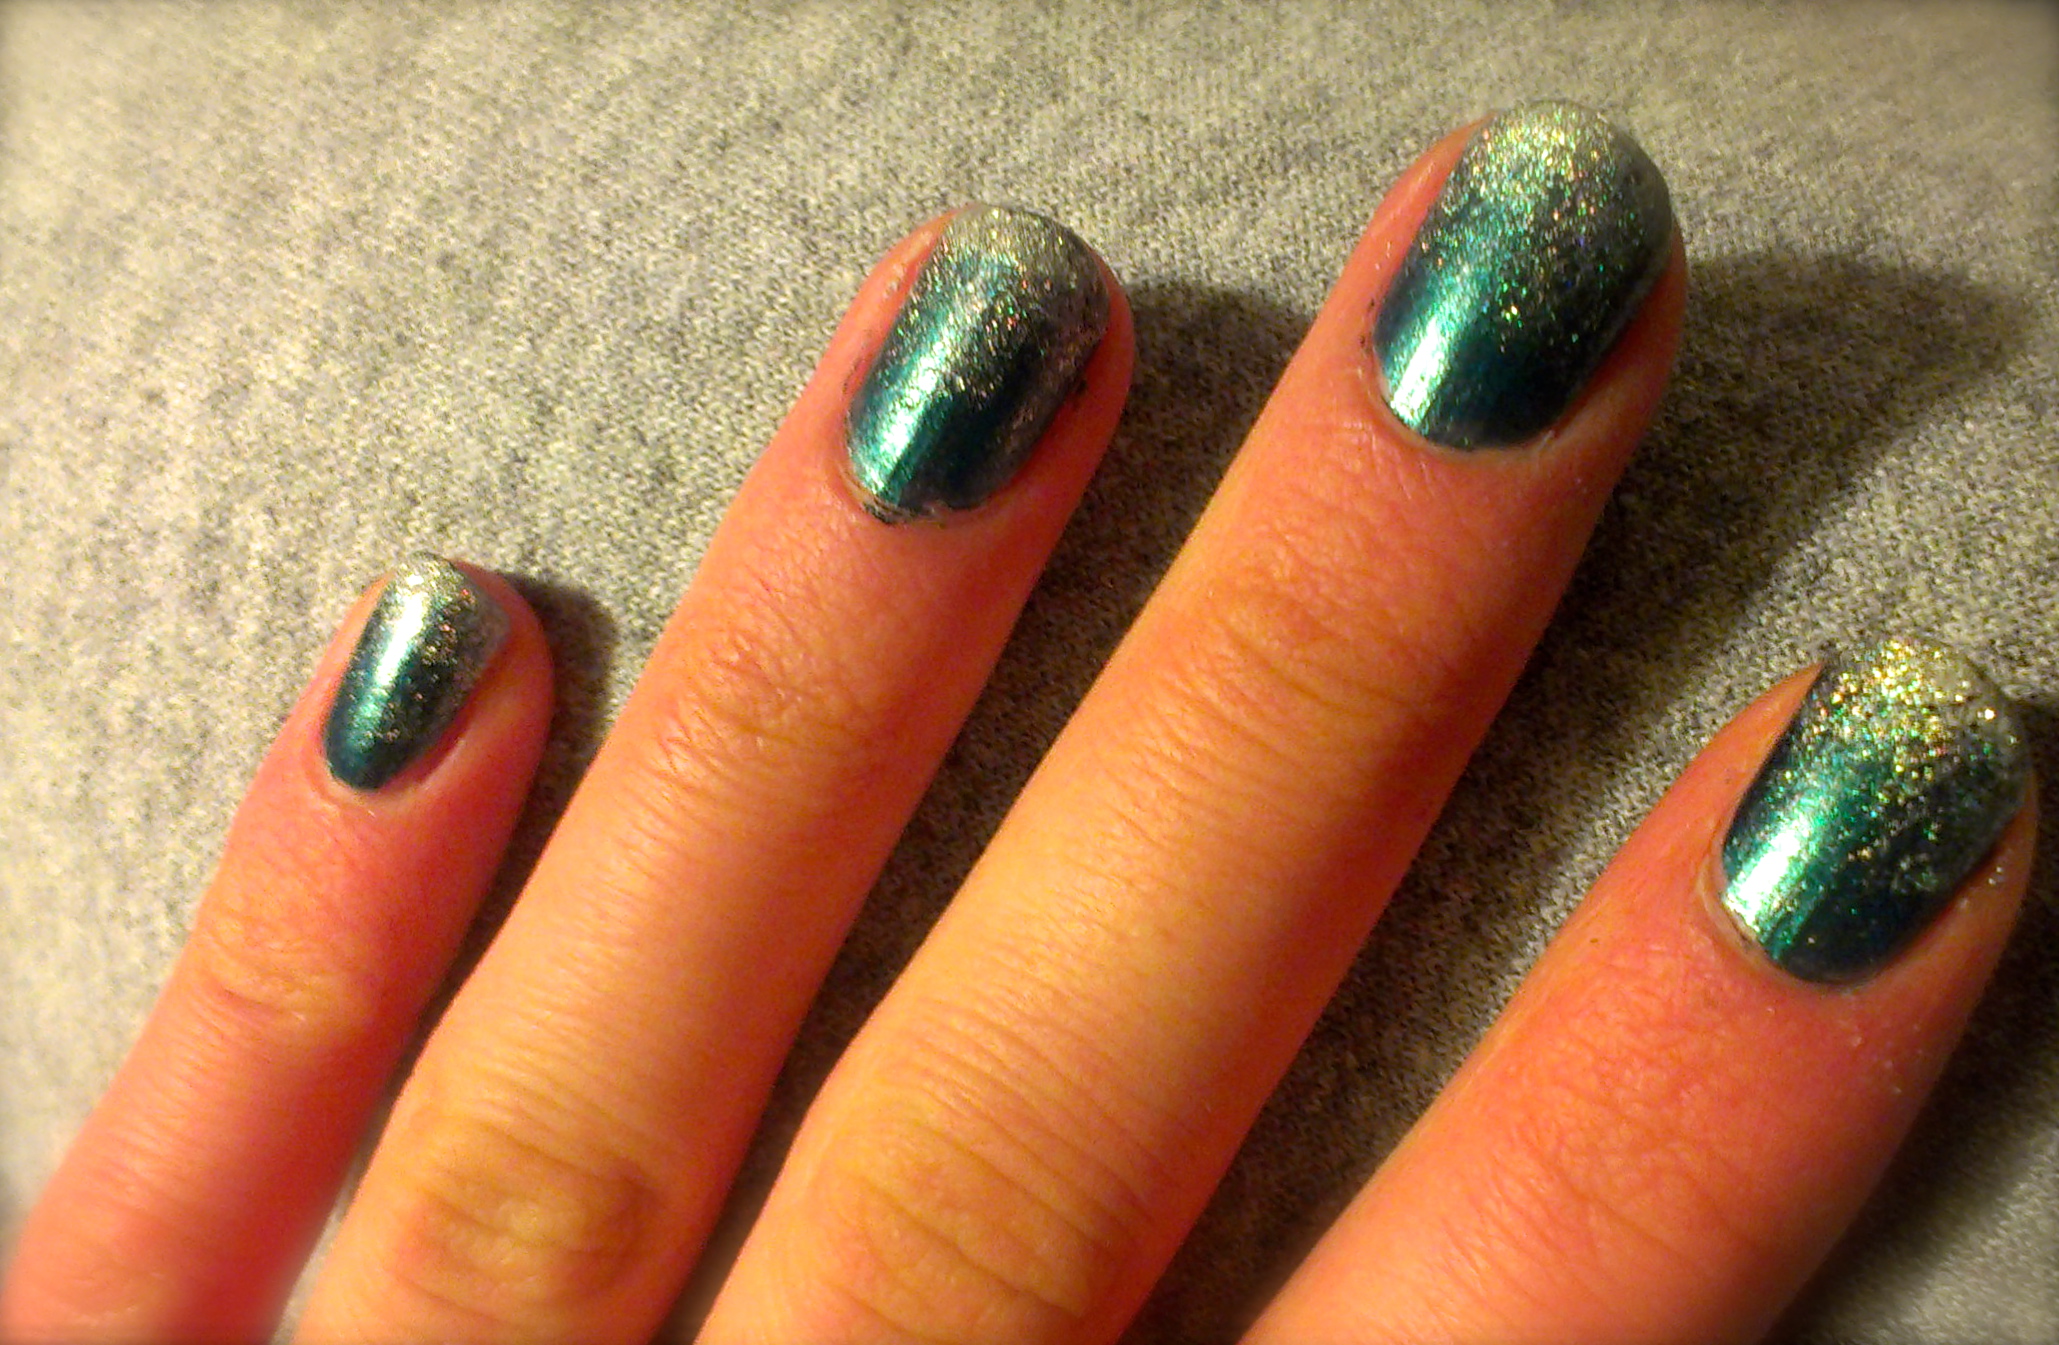
Along with decorations and music and baking and all the traditional spirit-building rituals, I love to paint my nails to reflect the holiday. Ombre has been trending lately, and glitter is one of my many obsessions, so I combined the two, to get… winter-wonderland nails!
If you’ve got solid colour nail polish and some glitter nail polish, that’s all you need to get the look.
- Apply a solid colour (blue is perfect if you’re going for the winter-wonderland style) to all of your nails. Let dry.
- Apply a light coat of glitter polish to 3/4 of each nail. Let dry partially.
- Apply another coat of glitter polish to the top 1/2 of each nail. Let dry partially.
- Apply a thick coat of glitter polish to the top 1/4 of each nail. Let dry completely.
- Optional: Put clear polish on the tips of your nails, then sprinkle with glitter dust.
- To protect your masterpieces, apply a clear top coat to your nails.
I stuck to silver and blue to create a snowfall style, but experiment with other colour combinations too! Some ideas: gold and black, red and green, blue glitter on white, etc.
Now, I fully understand if my instructions are completely incomprehensible. So here are some more professional, knowledgable tutorials from around the web:
The tutorial closest to what I did on my own nails: http://thebeautydepartment.com/2012/12/new-years-nails/
Four different ombre variations: http://ellesees.blogspot.ca/2012/08/how-to-ombre-nails-4-ways-including.html
A tutorial to do a glitter ombre where you use different colour glitters: http://cuegly.blogspot.ca/2013/03/diy-ombre-glitter-nails.html


