As someone who has had acne since they were young, going to my family doctor and dermatologist is nothing new, and I am greatly appreciative of my doctor and dermatologist, as It is because of them that I was able to work through my skin problems without making it worse. Acne, and other kinds of skin issues, can have an enormous impact on our self-esteem, which makes us more inclined to believe in false marketing of products or buy products we do not need simply due to the influence of social media. Many of us can also become confused because we can choose from a large array of products, so we may not even know where to start. As someone interested in skincare for quite a few years, here are my steps to get started.
*Important Side Note: I am not a dermatologist nor have any credentials to be a skin expert. I am giving advice based on my own experiences over the years. If you have any specific skin concerns, it is best to ask your family doctor, who may refer you to a dermatologist, about your specific concerns, as they can sometimes stem from underlying health problems or specific aspects of your diet and lifestyle. Thank you for your understanding.
Step 1: Find the Right Cleanser
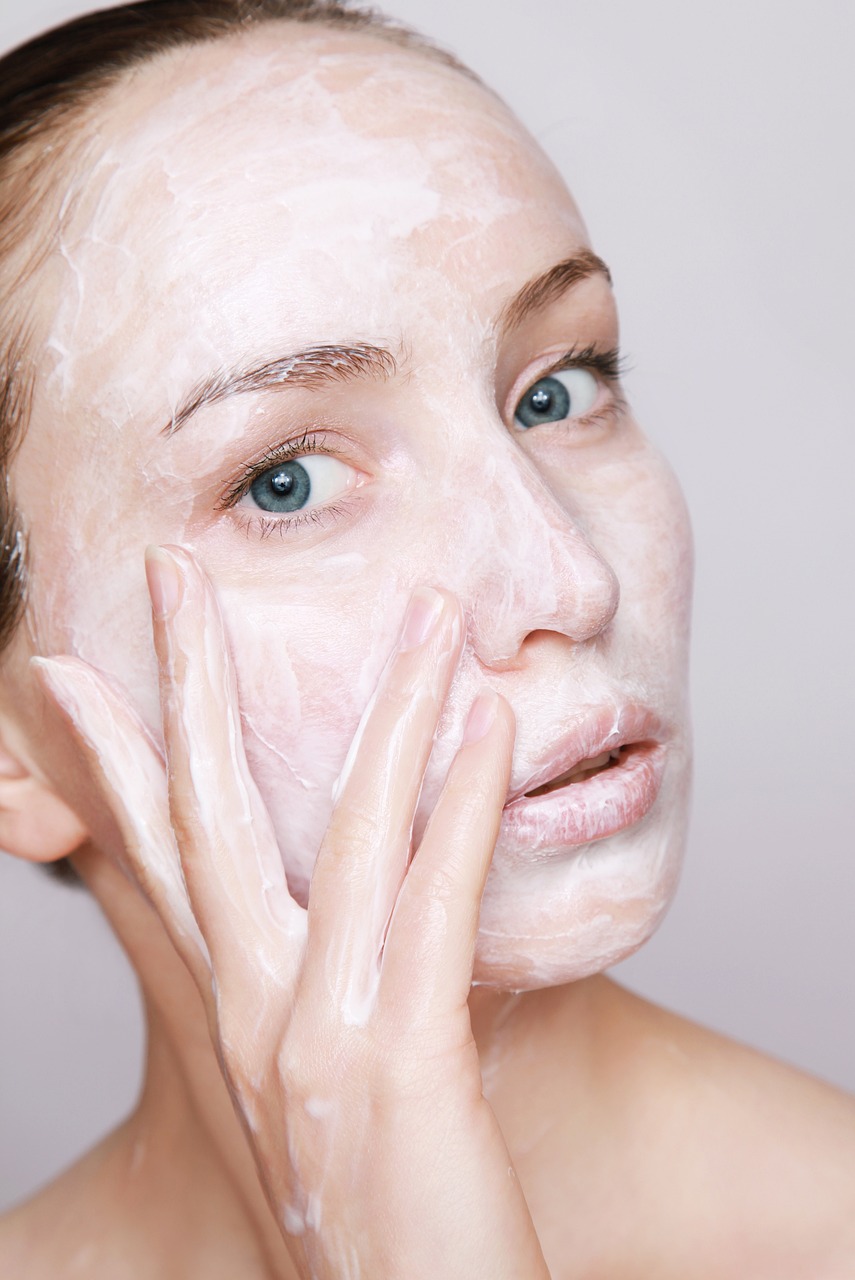
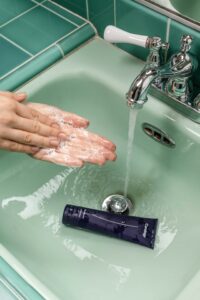
Do you have normal skin? Sensitive skin? Oily skin? Dry skin? Or perhaps a combination of oily and dry skin? It is best to find a cleanser, ideally without fragrance (as fragrance in skin products can irritate the skin), that suits your skin type. Usually for normal and sensitive skin, à simple gentle cleanser or a gel cleanser, can go a long way. On the other hand, for oily skin, you might want to look into more foaming cleansers or salicylic acid cleansers, to help control the oil production on your skin. As for dry skin, a gel cleanser or à hydrating cleanser can also be very helpful. I usually recommend finding the best cleanser for you, by trying them out and finding which one your skin likes best (as we all have different types of skin or live in different living conditions or weather that may affect our skin), and usually finding one from trusted brands like Cetaphil, CeraVe, or Aveeno.
Step 2: Identify your Skin Concern
If there are no specific skin concerns you may skip this step. However, if you are struggling with something specific such as rosacea, eczema, hyperpigmentation, or acne, it is best to find products that treat those conditions specifically and are considered skin ‘friendly’ for that condition. Again, to do so, make sure to ask your family doctor or dermatologist for either a prescription or product recommendations for that condition. As I have only struggled with acne and a bit of pigmentation, I can recommend a few kinds of products that have helped my skin (keep in mind, everyone’s skin is different, so what might work for me, may not work for you); Firstly, a salicylic acid cleanser or any gentle salicylic acid treatment can be very helpful for acne. Salicylic acid is a chemical exfoliant, that can help clear out the dead skin cells And debris that is clogging up your pores, which can then reduce the pimples on your face. Secondly Pimple Patches. If you are prone to picking your face (which can make your skin more prone to scarring in that area), Pimple patches are not only a good way to protect your skin from yourself, but also a way to help get rid of your pimples faster. I have found success with the Pimple patches from the ‘Mighty Patch’ brand, which can be found at many drug stores and sometimes grocery stores. Thirdly, retinoids such as ‘adapalene’ gel from the brand ‘Differin’. This one is tricky, as using retinol or retinoids wrongly can have adverse effects. Hence, it is strongly advised to ask your doctor or dermatologist if you should start. From my experience and advice, I have been told by my dermatologist when starting retinoids, to use only a pea-sized amount, and apply it on a dry (not wet after washing your face) face. Make sure to avoid sensitive areas such as around your eyes, more prone to irritation, such as around your eyes and the corners of your nose and mouth. Start doing this in your night routine for 2-3 nights a week, and slowly increase the number of times a week you do it depending on how well your skin tolerates it. Make sure to apply moisturizer after and avoid treatments from active ingredients, such as salicylic acid, right before or after applying. Finally, as for hyperpigmentation, particularly on the spot of your face right after your Pimple heals, niacinamide, which is sometimes present in moisturizers (such as certain CeraVe moisturizers- check their ingredient lists-), is known to help with hyperpigmentation and calming down the redness on the face. That being said, usually you only use one of these kinds of products on your face per night routine or performing routine to avoid irritation. Ask your doctor or dermatologist what part of your skincare routine is best to apply to your product. Usually, from my experience, I find it best to apply it after washing my face, and then apply moisturizer right after.
Step 3: Find the Right Moisturizer
Do you have normal skin? Sensitive skin? Oily skin? Dry skin? Or perhaps a combination of oily and dry skin? Again, it is best to find a moisturizer, also without fragrance, that suits your skin type as well as the weather. Usually, People with oily skin do better with lighter or more water-based moisturizers, like lotions, rather than heavier or oil-based moisturizers, which may suit dry skin more. Also in more hot and humid weather, usually in the summer, lighter moisturizers may feel better as we can sweat more easily in the summer, whereas, in more dry weather, like in winter, heavier moisturizers may help our skin more since our skin would be drier. Side note: oftentimes, body moisturizers can also be used on the face! So don’t waste your money buying an overpriced ‘face’ moisturizer. Again, I recommend finding one from trusted brands like Cetaphil, CeraVe, or Aveeno, that suits your skin the best.
Step 4: Lips
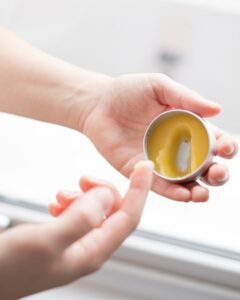
Honestly, just using a lip balm of your choice, again, ideally without fragrance, is best. The good ‘old Vaseline or Aquaphor, really anything with something heavy, like purified petroleum jelly, will help. It can also be helpful to apply Vaseline and Aquaphor on dry spots or patches on your skin. Fun fact: Vaseline has also helped my wounds, such as Scrape marks, heal faster or be protected while it’s healing, in the past!
Step 5: APPLY SUNSCREEN!
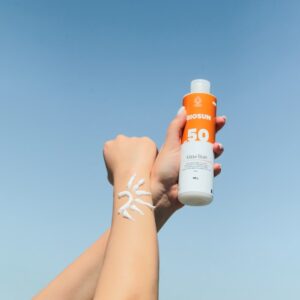
You have probably heard this a dozen times now, and yes, I am going to say it again, applying sunscreen is important, especially when dealing with skin conditions such as acne and hyperpigmentation. The sun can aggravate these conditions further, so it is important to wear sunscreen in the morning (ideally about a 1⁄4 to cover your face and neck, about two fingers worth) and reapply it throughout the day or as advised on the back of the sunscreen (where the directions of use are written). Again, find one without fragrance to reduce the possibility of skin irritation. That said, contrary to popular belief on social media like tik tok, Sunscreen does not stop your skin from receiving Vitamin D, the only thing it stops or protects your skin from is the harmful UVA and UVB rays emitted by the sun which can irritate your skin, make you more prone to wrinkles faster and skin cancer in the future. There are two types of sunscreens, minéral and chemical. Minéral sunscreens tend to be a bit more gentler however not that it may leave white casts for people with darker skin tones. Chemical sunscreens do not usually give a white cast! Look for sunscreens that are at least SPF 30 to provide adequate skin protection throughout the day. I found kid-targeted sunscreens, such as the ‘Black Girl Sunscreen KIDS’, have been less irritating and easier to wear. Yes I am almost a legal adult and I wear kids sunscreen, but from my experience, it doesn’t matter whether the sunscreen is for kids or not. Try out different sunscreens, including ones for your lips, such as the ‘Sun Bum’ lips SPF (Sunscreen), to find the one best for you.
Anyway, thank you for your time! I hope you found this article helpful and steer you away from buying any overpriced and unnecessary products due to social media! Have a good summer!

