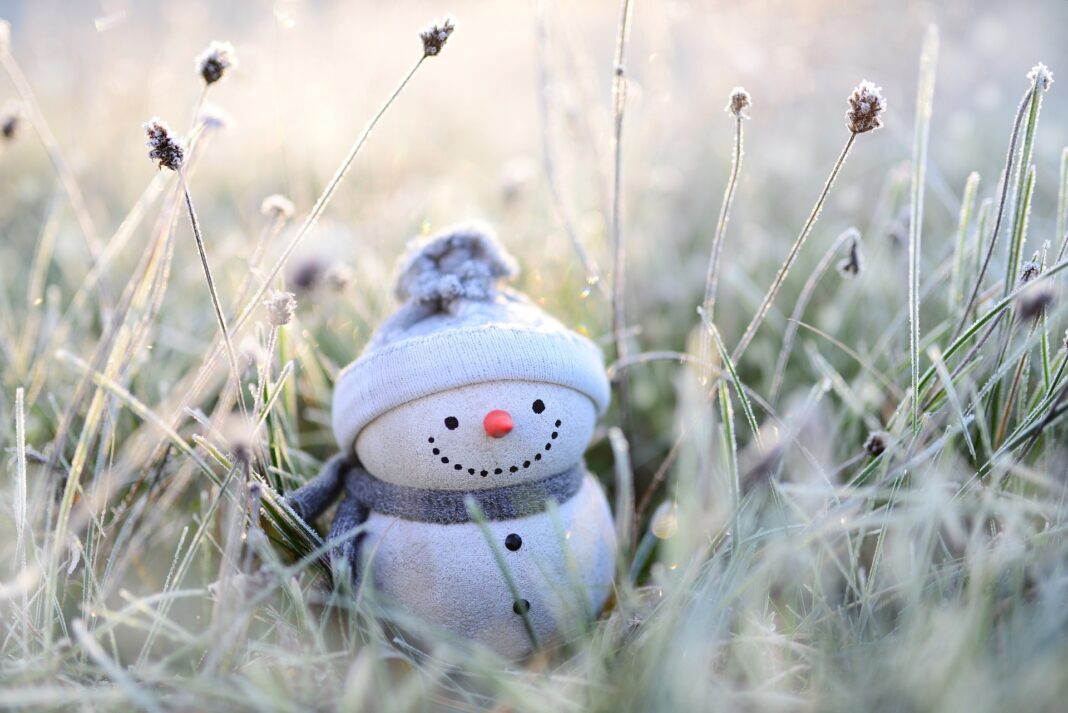
Did you know that there are actually many benefits to making a snowman? Even though I have never personally done it, I would like to utilize this winter to learn this wonderful skill! Making snowmen is probably considered by many Canadians to be a “classic” skill, but it really keeps our holiday spirits alive. I have researched on Wikihow the specific steps to making snowmen, so let’s take a look through them together!
Step 1: Find a Location
When considering the location of your snowman, you might want to build it right next to a taller building or tree that can provide valuable shade. Even though winter is very cold here in Calgary, it still exceeds zero degrees quite frequently! You do not want your snowman to melt too quickly.
Step 2: Identify Good Packing Snow
After you have selected the location, find a patch of snow that is moist and moldable into a spherical shape. It is important to note that snow that is either too fluffy or too powdery is generally not suitable for making the best snowman. Try out small samples of the snow first, then proceed to take larger quantities to build your snowman.
Step 3: Build the Spheres
For the classic snowman, you want to try to form a total of three spheres, with all three of them stacked on top of one another. However, the spheres should decrease in size from the bottom up; in other words, the sphere touching the ground should be the largest. For each one of the spheres, you can decide how large exactly it needs to be. However, a good tip for each sphere is to start by packing the snowball that is approximately 30 centimeters in diameter, then rolling it on the ground to gain size.
Step 4: Rolling the Snowballs
Make sure to change the direction constantly when rolling the snowball! This would keep the snowball in a nice spherical shape. Try to stop rolling the snowball exactly where you want to place the snowman. Repeat for the other two spheres. The top sphere will form the head, and the middle sphere will be where we put the arms, as well as some of the buttons.
Step 5: Finishing Touches
After stacking the spheres on top of one another, make sure to fill in the gaps between the spheres with some more snow. Then, we can proceed to decorate it. A carrot is one of the most widely known options for the snowman’s nose, but feel free to also use icicles (since it is so abundant). For the eyes, the recommended objects are buttons or ping-pong/rubber bouncy balls. As for the mouth, you can even just use a row of pebbles! Press the decoration objects firmly to make sure that they are properly affixed to the head.

Step 6: Final Steps
After selecting two branches to serve as the arms, feel free to add a tie, hat, scarf, or even sunglasses to personalize your own snowman!
Additionally, you can use food coloring in a spray bottle that contains water. By spraying the combined mixture onto the snowman, you can also add colors as well. Regardless, simply have fun building your unique snowman! Lastly, spending time to enjoy building a snowman with other family members is a great idea as well.

