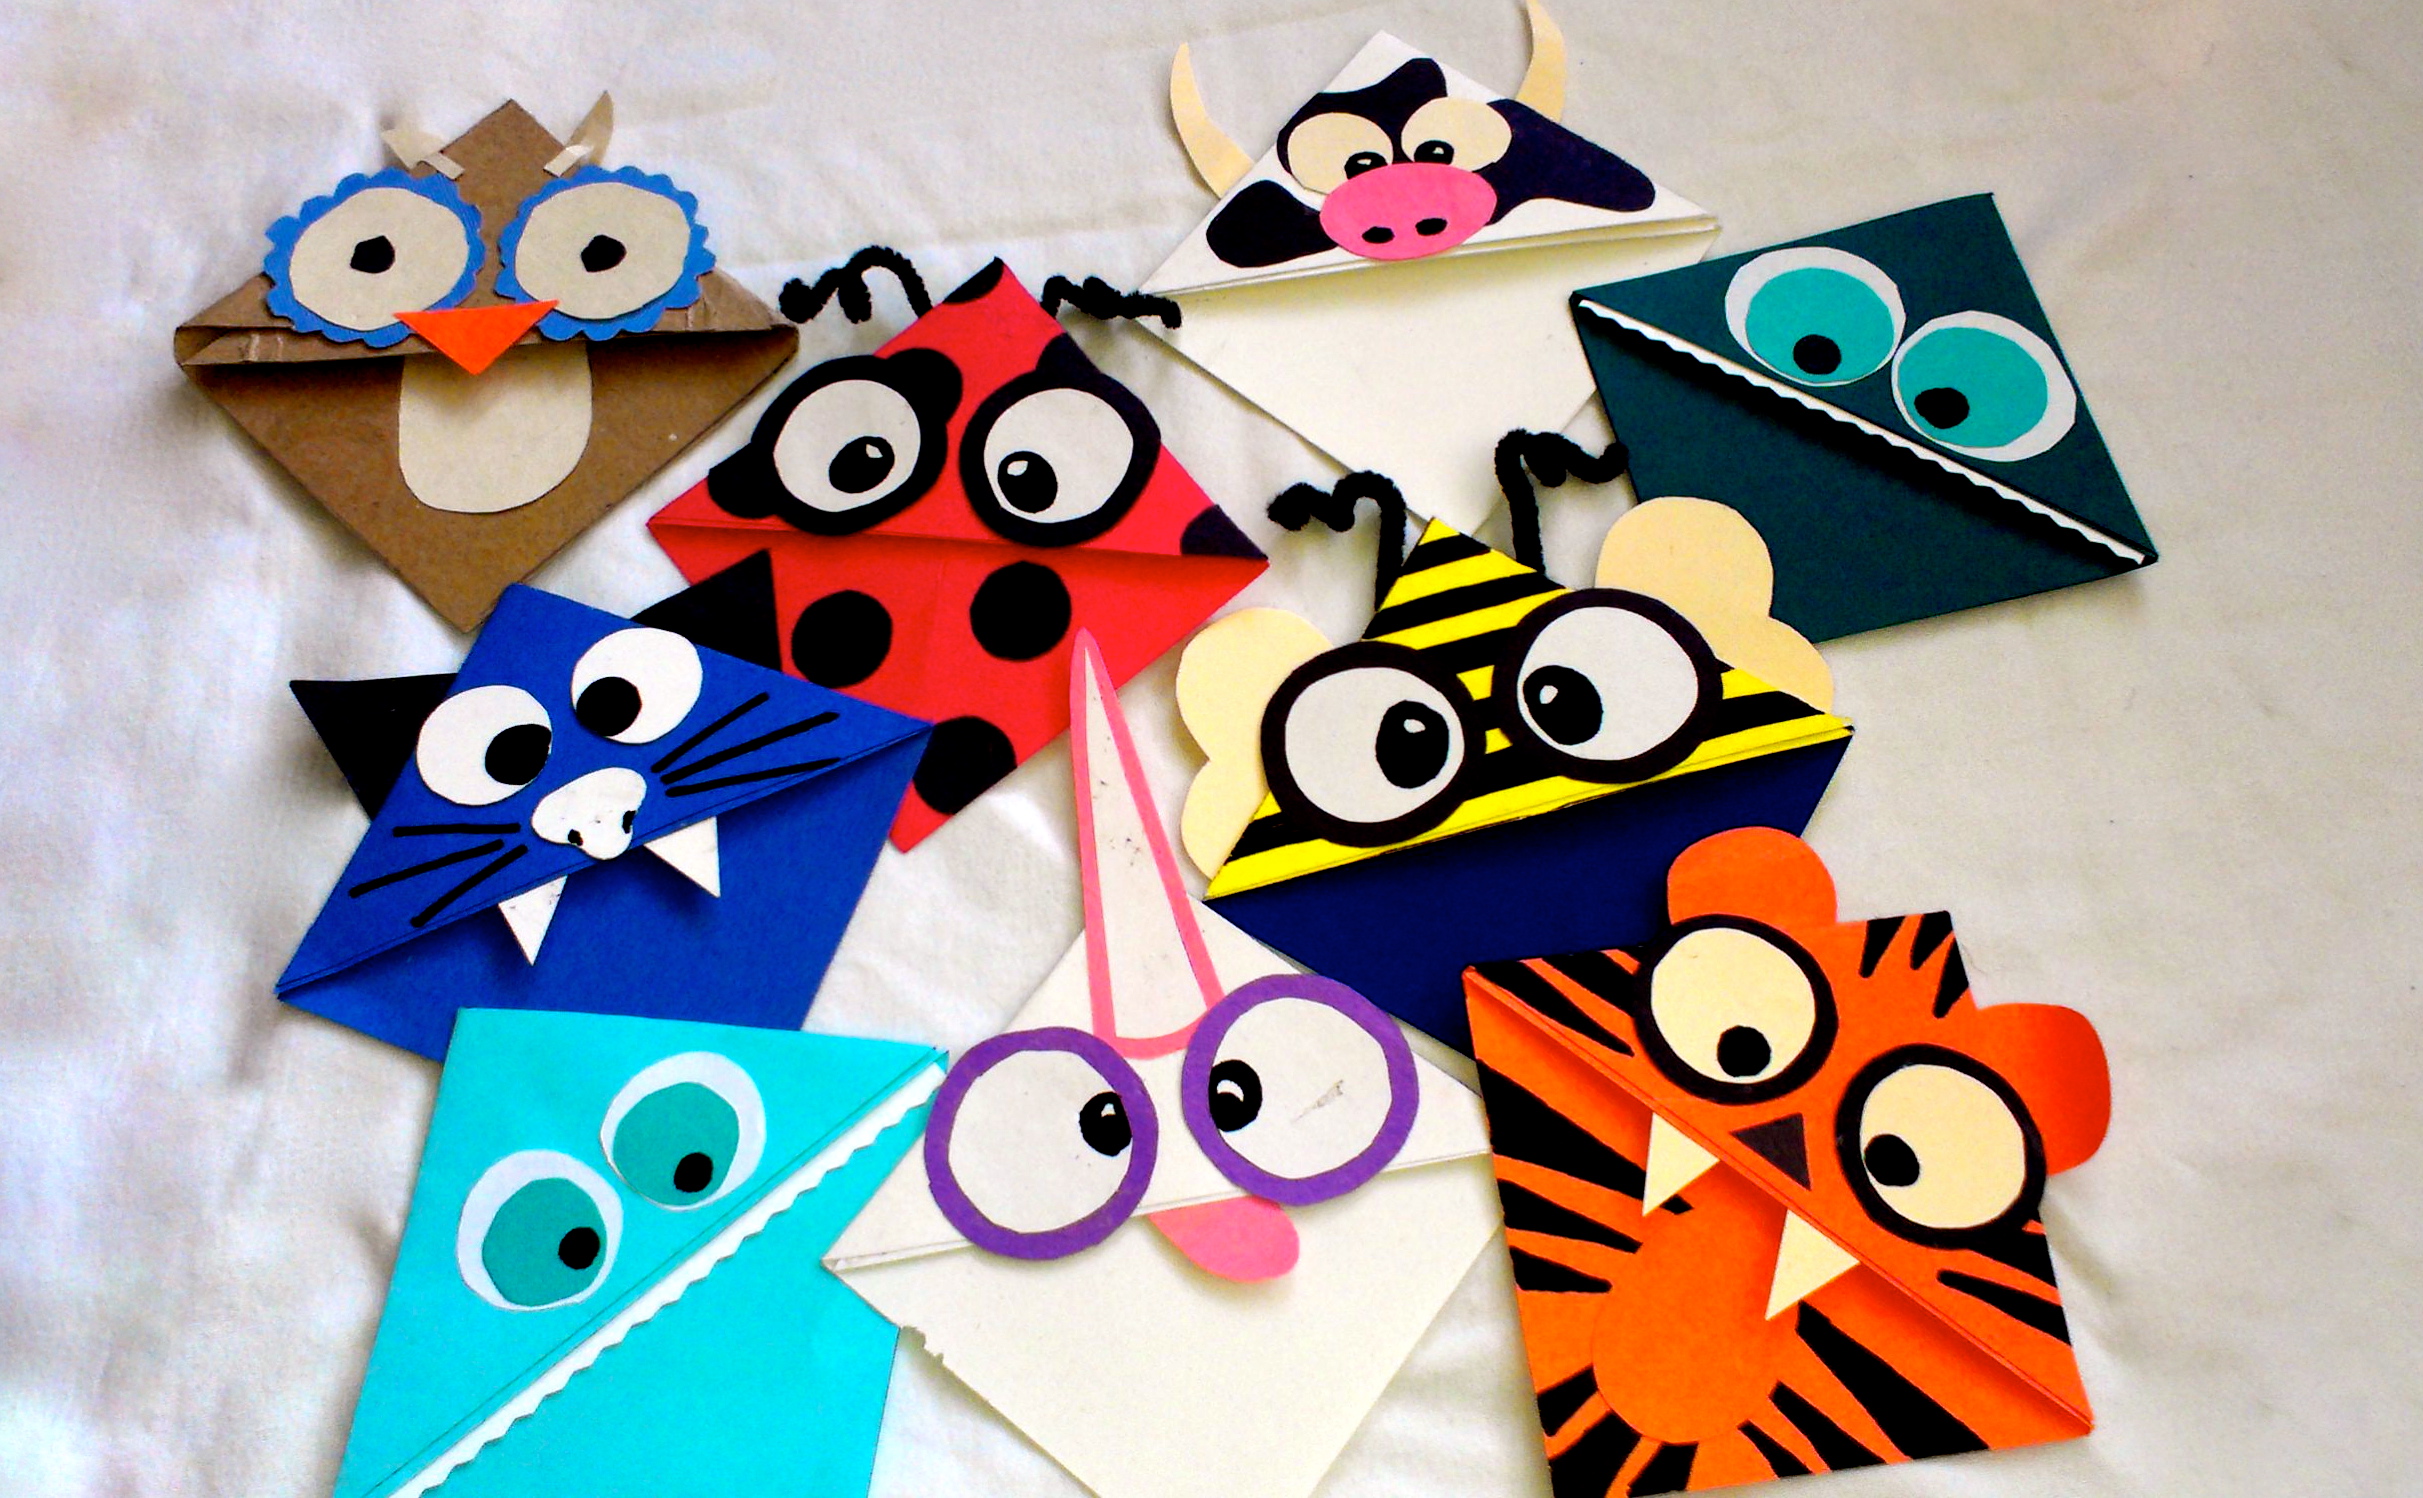
Hey! A week or two ago, my friends and I went on a craze of making page-corner bookmarks! They are incredibly cute, easy to make, and simply slide onto the corner of your page! So, I decided to share this awesome DIY project with you!
What you need:
- Coloured paper (as many colours as you desire)
- Glue stick
- Scissors
- Pencil
- Ruler
- Anything else you want for decorating (feathers, googly eyes, pipe cleaners for antennas, etc.)
What to do:
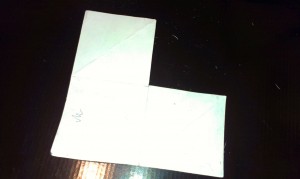
1. Draw three perfect, equal sized squares connected in an L-shape, and cut out as one piece
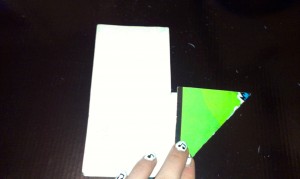
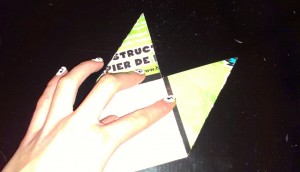
2. Fold both outer squares in half diagonally
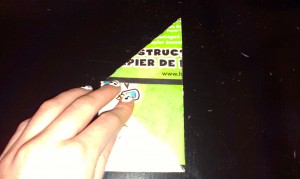
3. Fold one of the outer squares (now a triangle) over the centre square
4. Put glue on the top of this now folded over triangle
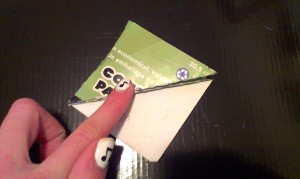
5. Fold the other outer square (now a triangle) over the one you just folded down
5. Decorate this flap with whatever you want! Google “page corner bookmarks” to find tons and tons of inspiration!
7. Slide the finished bookmark on the corner of your page and have the best bookmark ever
NOTE: If you plan on making multiple like my friends and I did (the ones pictured above are all mine except for one), I highly suggest making a template so you don’t have to carefully draw the three squares each time!
Hope you enjoyed the post!!!!!
Have a great day
P.S. Credits of the owl bookmark goes to my amazingly awesome friend



Love it!
If you don’t want to have to measure and draw the squares you can just fold the paper in half two times. Then you have four equal squares and you can easily cut one out. That’s what I did with my students and it worked great. Thanks for the tutorial, they are so cute!
Comments are closed.